Personal Edition Deployment
The Personal edition is aimed at individuals, home labs, and low-concurrency small teams. By default it starts only a single app container, uses SQLite for both business data and vectors, and uses in-process caching and a background queue; it does not start PostgreSQL, Redis, or Qdrant, and does not start the Python sandbox by default.
This is not a feature-stripped edition: conversations, workspaces, knowledge bases, RAG, model channels, MCP, files, sharing, credits, and the admin console all remain available. Its boundary is single-instance operation — it is not designed to horizontally scale the application across multiple machines.
Confirm Your Use Case First
The Personal edition is a good fit when:
- You have only one server, or only want to maintain a single application container.
- The number of users is limited and your workload does not require multiple replicas, high availability, or a standalone Redis.
- You need vector retrieval but want to keep vectors and business data in the same SQLite file.
- You accept migrating to the Full edition via backup and restore when you scale up later.
Choose the Full edition directly instead if you need multiple app replicas, independently operated databases, higher concurrency, long-term multi-user use, or if you already run PostgreSQL, Redis, and Qdrant.
Server Preparation
A 64-bit Ubuntu 22.04/24.04 LTS or Debian 12 is recommended. You can start with as little as 2 vCPUs, 4 GB of memory, and a 30 GB SSD; add memory and disk to match real load when you have many documents, use external embeddings, enable the local sandbox, or store a large number of attachments.
Before you start, confirm:
- The system is 64-bit Linux on
x86_64,aarch64, orarm64. Both architectures are supported; see ARM64 and x86_64. - Docker Engine and the Docker Compose Plugin are installed, and the current administrator can run
docker compose. - The server can reach the image registry and the HTTPS endpoints of the model, embedding, search, OAuth, and mail services you plan to use.
- When exposing the instance directly, allow only HTTP/HTTPS through the firewall; when using a reverse proxy, do not expose the application's listening port directly to the internet.
- The disk holding
DATA_DIRhas enough space, and Docker can read and write that directory. Do not put SQLite on NFS, SMB, or other network file systems.
You can run these read-only preflight checks:
uname -m
docker version
docker compose version
df -h
If docker version or docker compose version is unavailable, install Docker first per your distribution's official documentation; Aivory will not install it for you.
Obtain the Release Configuration
/opt/aivory is used as the example below. The release image contains both the web UI and the API; there is no need to build the frontend or backend on the server.
git clone --depth=1 https://github.com/hjxwz123/Aivory.git /opt/aivory
cd /opt/aivory/deploy
cp .env.personal.example .env.personal
Edit .env.personal. You must set a stable, sufficiently long JWT_SECRET; changing it on restart invalidates all login sessions. An absolute path is recommended for DATA_DIR to avoid writing data to an unexpected location when working from different directories.
JWT_SECRET=替换为独立的强随机字符串
DATA_DIR=/opt/aivory/data-personal
IMAGE_TAG=latest
Example of generating a key:
openssl rand -hex 32
latest is fine for evaluation. For a stable instance, pin it to a fully released version number, for example IMAGE_TAG=3.0.0; image tags must not carry a v prefix. For upgrade and rollback steps, see Upgrades, Backups, and Recovery.
Preview Before Startup
Do not modify .env.personal.example directly. The file Compose actually reads is .env.personal. Rendering the configuration and image list before startup helps catch missing keys, wrong paths, or wrong image tags early.
cd /opt/aivory/deploy
docker compose --env-file .env.personal -f docker-compose.personal.yml config
docker compose --env-file .env.personal -f docker-compose.personal.yml config --images
The Personal edition explicitly pins the following backends: the SQLite database, VECTOR_BACKEND=sqlite, and empty Redis and Qdrant addresses. As a result, additionally setting DATABASE_URL, REDIS_URL, QDRANT_URL, or QDRANT_API_KEY in .env.personal will not change the official Personal edition topology.
Pull, Start, and Verify
cd /opt/aivory/deploy
docker compose --env-file .env.personal -f docker-compose.personal.yml pull
docker compose --env-file .env.personal -f docker-compose.personal.yml up -d
docker compose --env-file .env.personal -f docker-compose.personal.yml ps
docker compose --env-file .env.personal -f docker-compose.personal.yml logs --tail=200 app
The default port mapping is host 80 to container 8787. After the app starts, verify the health check first:
curl -fsS http://127.0.0.1/api/health
The expected response is {"ok":true}. Then open the server's IP or domain in a browser. A brand-new instance with no users shows the initialization page, and the first account created automatically becomes the administrator; environment variables no longer pre-provision an admin account.
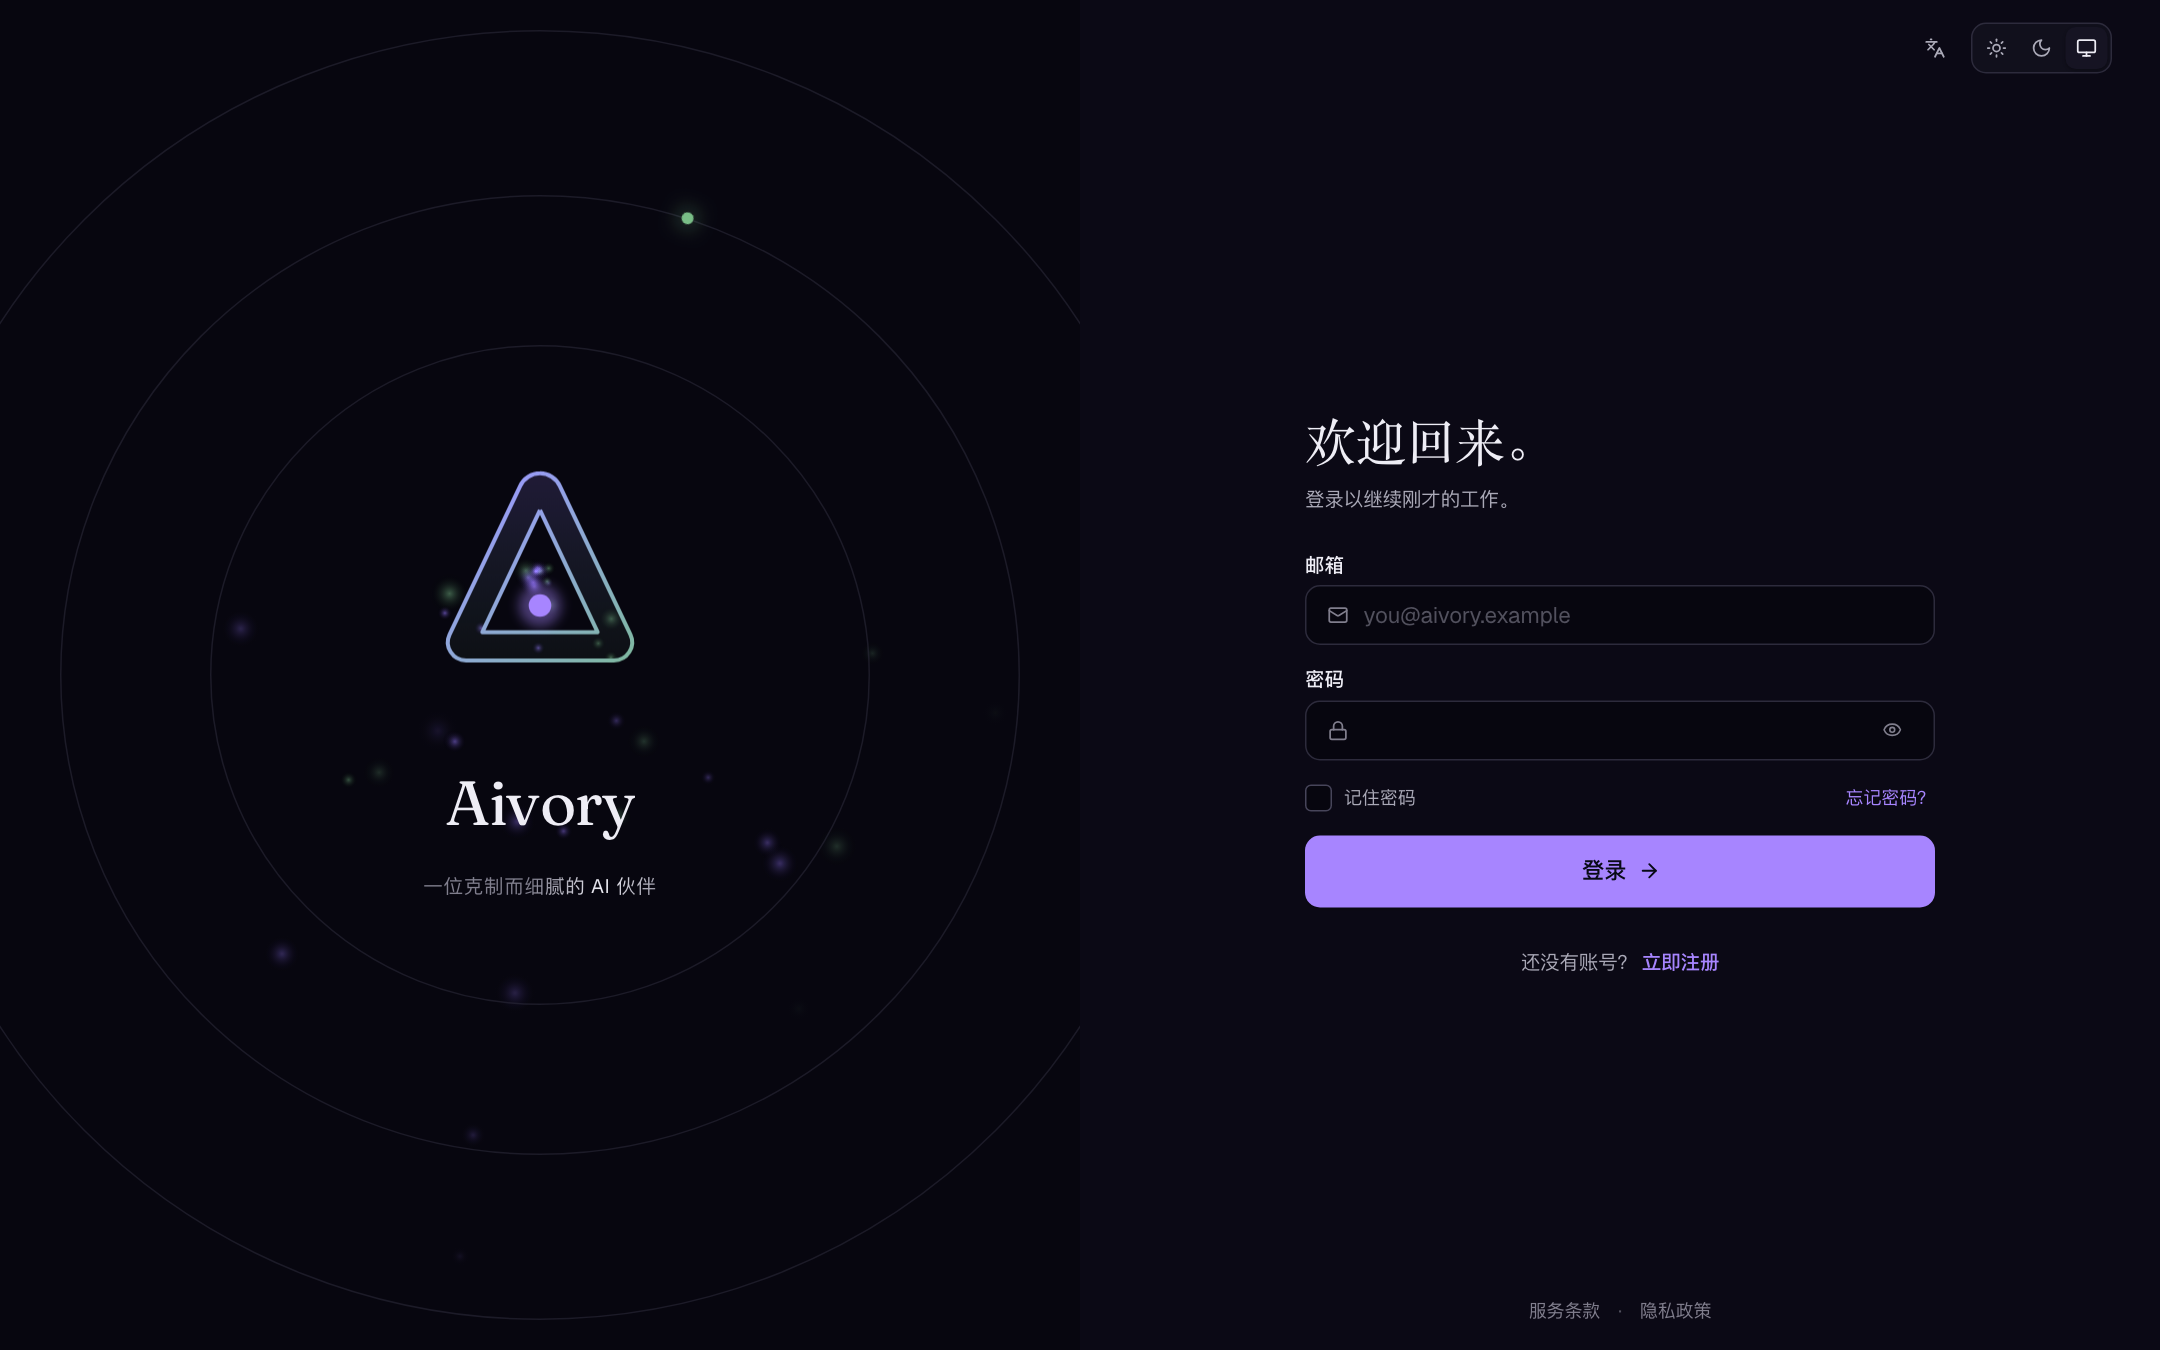
After creating the account you can sign in on the login page (shown here in the Chinese UI):
After completing the first administrator login, verify minimal chat capability in this order:
- In "Channels", create an enabled, connectable channel.
- In "Models", add or auto-import at least one enabled chat model.
- In "Settings → Model policy", select the default chat model.
- As a regular user or an administrator, start a new conversation and send a short message to verify a real upstream response.
If something fails, first check the recent logs of app; do not "retry" by deleting the data directory or running docker compose down -v. Fixes for common symptoms are covered in Troubleshooting.
Domain and HTTPS
Using a public IP directly is fine for short-term verification; for production use, configure a domain and HTTPS. If the app binds host port 80 directly, an upstream load balancer or reverse proxy can terminate HTTPS and forward to it; if you run Caddy, Nginx, or Traefik on the same host, first change the Compose port mapping to loopback-only — for example 127.0.0.1:8787:8787 — to avoid competing with the proxy for ports 80/443.
Set ALLOWED_ORIGINS=https://chat.example.com in .env.personal for any domain or HTTPS reverse proxy. Full details on ports, reverse proxies, OAuth callbacks, and multi-domain configuration are in Domains, HTTPS, and OAuth.
Vectors and Knowledge Bases
The Personal edition always uses SQLite embedded vectors: aivory.db stores both business data and vector points, and Qdrant is not required. When no external embedding is configured, the system can fall back to a basic local embedding; it is fine for trying out the flow, but it is not recommended as a long-term solution for high-quality semantic retrieval.
For more reliable RAG, configure an OpenAI-compatible embedding service in the admin console or in .env.personal, and make EMBEDDING_DIM match the model's real output dimension. After changing the embedding model or dimension, you must rebuild the vectors of the affected knowledge bases in the admin console; old and new vectors cannot be reliably mixed.
Scanning PDFs, image-based PDFs, or complex-layout files may require a parsing service such as MinerU. Configuration docs for object storage, OCR, and embeddings are in Knowledge Bases, RAG, and Storage.
Optional: Configure the Python Sandbox
Without a sandbox, the admin tools page prompts you to configure one and the Python interpreter stays disabled. This is a normal state and does not affect regular conversations, knowledge bases, or file uploads.
Use an External Sandbox
Deploying the sandbox in a controlled, separate environment is recommended; then enter its HTTPS address and Bearer Key under "Tools" in the admin console. You can also add them before startup:
SANDBOX_BASE_URL=https://sandbox.example.com
SANDBOX_API_KEY=与外部沙盒一致的高强度密钥
The external sandbox must be accessible only to Aivory as a trusted party, and should never be exposed to the public internet without authentication.
Enable the Local Sandbox Profile
If you accept the high-privilege risk of the local Docker socket, you can explicitly enable the optional profile. First set the same address and key as the sidecar in .env.personal:
SANDBOX_BASE_URL=http://sandbox:8000
SANDBOX_API_KEY=aivory-personal-sandbox
Then run the commands with the sandbox profile:
cd /opt/aivory/deploy
docker compose --env-file .env.personal -f docker-compose.personal.yml --profile sandbox pull
docker compose --env-file .env.personal -f docker-compose.personal.yml --profile sandbox up -d
docker compose --env-file .env.personal -f docker-compose.personal.yml --profile sandbox ps
This additionally starts sandbox and sandbox-image-keepalive. The former creates restricted, ephemeral execution containers through the host Docker socket, and the latter keeps the runtime image so that image cleanup between sessions does not force a cold pull and timeout on the next execution. The Docker socket is equivalent to high privilege on the host — enable it only on a fully controlled server, and never add public port mappings for the sandbox.
For the concrete security boundaries of sandbox resources, persistent workspaces, and MCP, see Tools, MCP, and the Sandbox.
Data, Backups, and Migration
DATA_DIR is the only persistent root for the Personal edition and typically contains:
data-personal/
├── aivory.db
├── uploads/
├── artifacts/
└── backups/
aivory.db contains both business rows and embedded vectors; if you back up only the database file and miss uploaded files and artifacts, attachments or download links will break after a restore. Take regular, restorable off-site backups of the entire directory, and take a backup before every upgrade.
The Personal edition can run only one app replica; high availability cannot be obtained by scaling containers. When migrating to the Full edition, generate a complete backup first, start an empty Full edition on the new server, then import from the admin console and verify conversations, files, knowledge bases, and vectors item by item. The detailed restore procedure is in Upgrades, Backups, and Recovery.