First Conversation
Once your instance is up, complete the three steps below to start chatting.
1. Add a Channel
Open "Channels" in the admin console, choose the provider type and API format, and fill in the Base URL and API Key. OpenAI-compatible channels usually use an address ending in /v1.
A channel stores only upstream connection details; it does not automatically make every model available.
2. Add Models
Go to "Models" and create a chat model, or turn on the channel's "auto-add models supported by the channel" option to import the list from the provider's models endpoint.
The same model ID can belong to different channels. For example, if two channels both support gpt-5, you can add two separate model records; at runtime they are distinguished by their respective channel configurations.
3. Select a Default Model
In "Settings → Model policy", pick one enabled chat model as the default, then return to the home page and start a new conversation.
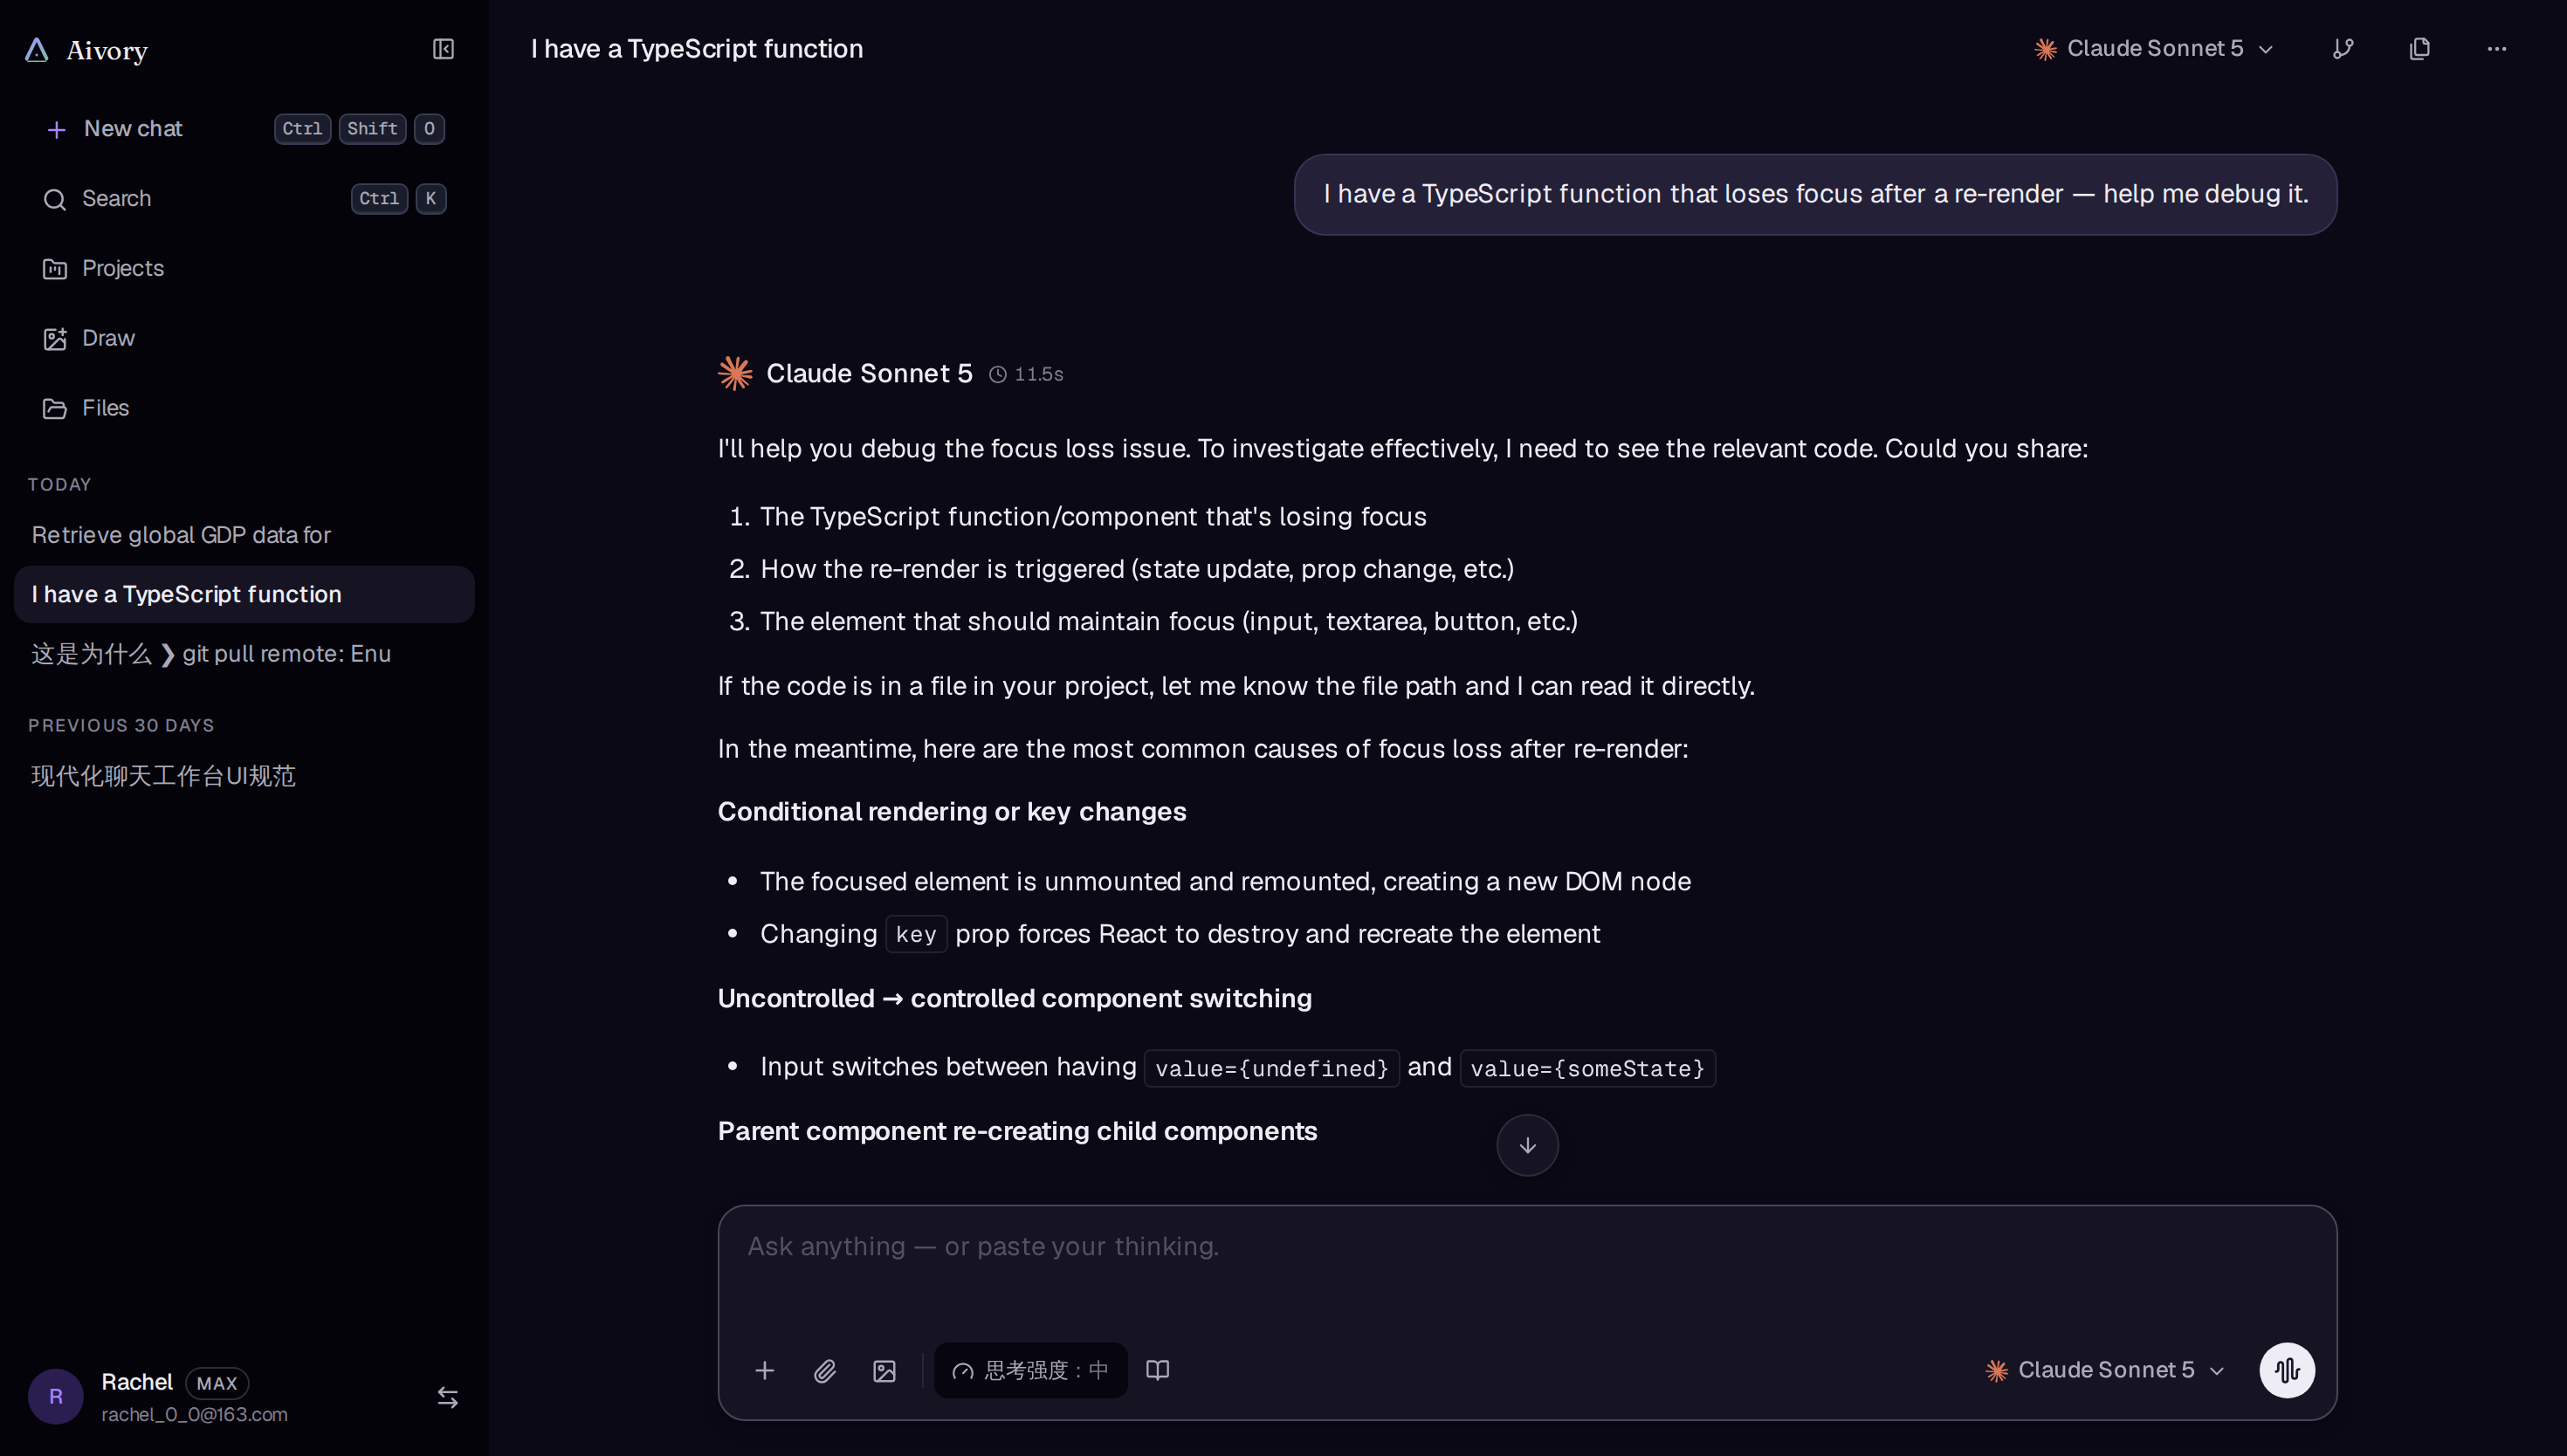
Once configured, the left rail lists conversation history and the right pane streams the model's Markdown answer:
Common Next Steps
- For a knowledge base, add an embedding model and create the knowledge base.
- For web-grounded answers, configure a search provider.
- For Python or file tools, confirm the sandbox address is reachable.
- For team collaboration, create workspaces and set member permissions.